
 Home
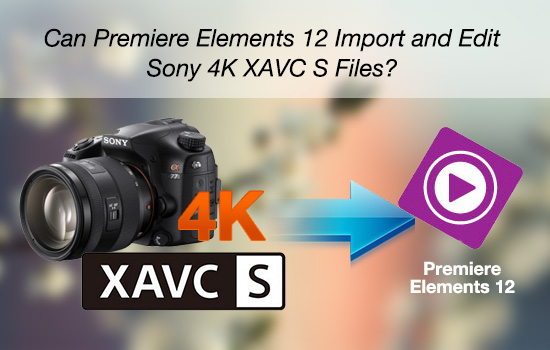
Home4K resolution together with the newest codec XAVC S really brings great confusion to Premiere Elements users when they are trying to import and edit 4K XAVC S files shot by a Sony camera in Premiere Elements 12.
NLEs are usually quite picky when importing video files and only a small mistake or a wrong step will lead to a big headache. The problem does not lie on the 4K resolution. XAVC S is not friendly to Premiere Elements 12 and formats like MPEG-2 and MOV are fully supported by Premiere Elements 12 (see more Premiere Elements supported import files). The measure you're suggested to take here is to use a XAVC S to Premiere Elements 12 converter which can assist you to convert 4K XAVC S shots to Premiere Elements 12 accepted formats and MPGE-2 couldn't be better!
A majority of video converters are designed to complete conversion for playback devices, and the number of video converters for video editing programs is quite small and limited. Pavtube Video Converter can not only convert various videos to popular playback devices but also convert videos to formats natively supported by video editing programs and you'll find no trouble outputting MPEG-2 for Premiere Elements 12 with this XAVC S to Premiere Elements converter.


How to convert Sony 4K XAVC S videos to MPEG-2 for Premiere Elements 12?
Step 1. Import 4K XAVC S video files
Download and install XAVC S to Premiere Elements 12 converter on PC. After installation, get it running and click "File" > "Add Video/Audio" or "Add from Folder" to import Sony 4K XAVC S video files.

Step 2. Choose MPEG-2 as output format
Go to the output format list to choose "Adobe Premiere/Sony Vegas" > "MPEG-2 (*.mov)."

If you're using other video editing programs like FCP, FCE, iMovie, and Avid MC, you can easily find the corresponding output options.
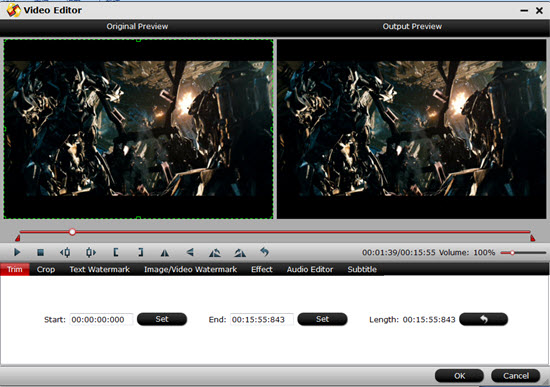
Step 3. Edit 4K XAVC S (Optional)
You may just need several clips in a 4K XAVC S video or want to remove unwanted areas in your 4K XAVC S video. The video editor built in this XAVC S to Premiere Elements converter can be of great help. Click the "Edit" button in top left area of the main UI, and the "Video Editor" window will appear. Use "Trim" to get the clips you want, "Crop" to remove black edges and unwanted areas. You can also add watermarks, and apply special effects to your XAVC S video, etc.
Step 4. Perform 4K XAVC S to MPEG-2 conversion
Hit the "Convert" button to get 4K XAVC S to Premiere Elements 12 conversion started.
After conversion, you can import the converted XAVC S files which have been in MPEG-2 format to Premiere Elements 12 for free editing.
Additional Tips:
If you would like to enjoy your XAVC S files in some portable devices while don't want to ruin the quality, "H.264 HD Video (*.mp4)", this will output your files as H.264 High Profile as to keep the best quality of your files.
And about how to transfer files into Adobe Premiere Pro can be learned here.
 Free Trial Video Converter


