
 Home
Home“I am a retired University Full Professor; I have worked on Virtual Campus and convergent technology. I have some MXF files recorded by my P2 camcorder that I want to use Lightroom 5 to review and catalog my material. Can I do that with any help?”
Adobe announced its next-gen Photoshop Lightroom 5 beta and full version Photoshop Lightroom 5 later to help you create even better images, work more efficiently, and share your photos almost anywhere. Lightroom 5 supports the large majority of native camera raw file formats, including AVI, MOV, MP4, and AVCHD, in addition to PNG, DNG, TIFF, and JPEG formats — in other words, the formats primarily used in digital cameras. You cannot, however, import P2 MXF video files into Lightroom 5 since it is not an accepted file format for Lightroom 5. How to transfer P2 MXF files to Adobe Photoshop Lightroom 5< smoothly? You may need to transcode P2 MXF videos to other video format that Lightroom 5 is compatible with in advance.
Get prepared:
1. Move source P2 MXF files from camera to computer hard drive
2. Install MXF to Lightroom 5 converter (Mac version is available here)
3. A Win/Mac computer
Full guide: How to import P2 MXF videos to Adobe Photoshop Lightroom 5?
Part One: Convert P2 MXF videos to Adobe Photoshop Lightroom 5 accepted files
1. Import source P2 MXF files.
Connect your camera with computer using a USB cable, or back up the source P2 MXF videos to hard disk in advance, then hit the “Add video” icon to import source video, or drag & drop it to Pavtube Video Converter Ultimate.
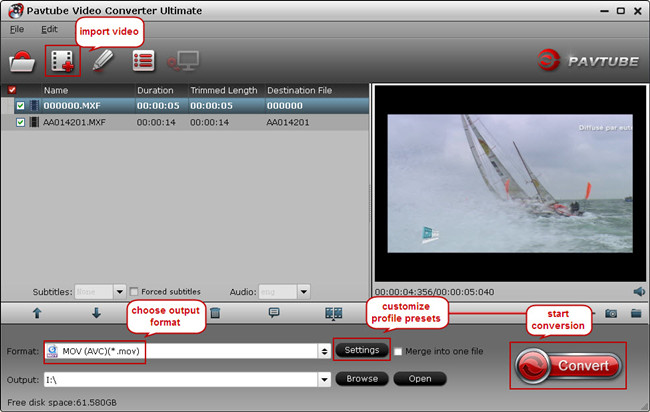
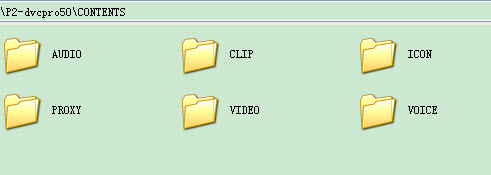
NOTE: when transferring P2 MXF files to computer, make sure the whole file structure is copied completely.
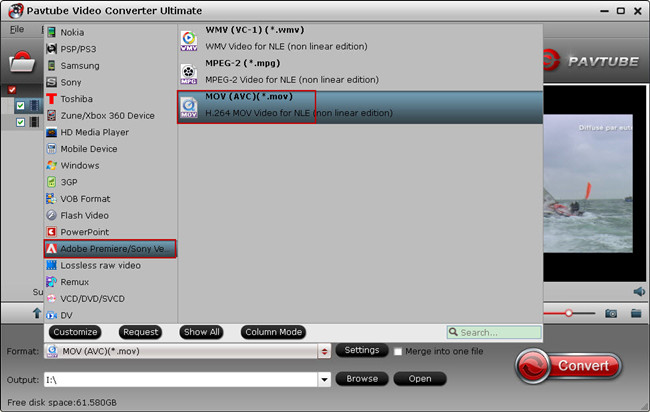
2. Choose optimized output format.
We know about the Lightroom 5 supported video formats, and find the optimized one from the “Format” menu.
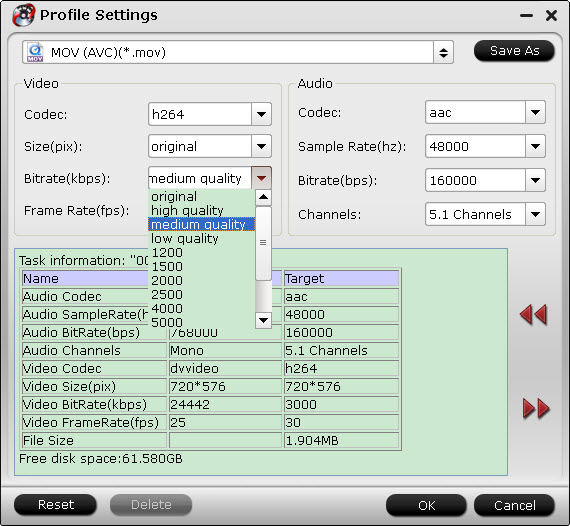
3. Set profile presets (Optional).
If you like, you could adjust profile settings such as Size, video bitrate, frame rate, etc to get video file that is better supported by Lightroom 5.
4. Convert P2 MXF files to Lightroom 5.
Back to program main UI, hit the “Convert” icon and start P2 MXF files to Lightroom 5 conversion process. When it finishes, enter output folder to get the created MOV video file. Now you are ready to transfer P2 MXF files into Adobe Photoshop Lightroom 5.
Part Two: Import P2 MXF files into Adobe Photoshop Lightroom 5
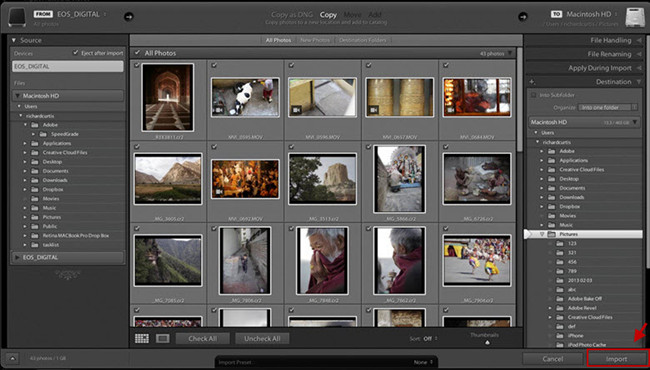
When you import photos and video into Lightroom 5, you work from left to right the import window. First, on the left, identify what photos you want to import (the source photos). Then, in the middle of the window, choose how you want to import them into the catalog (add, move, or copy them). Finally, on the right, specify where you want the files to be stored (the destination folder) and other options for the imported files.
Tip 1: When importing for the first time, it helps to think through how you want to organize your photos and where you plan to store them before youimport. This can help minimize the need to move photos later and possibly lose track of them in your catalog.
1. In the Library module, do one of the following:
* Click the Import button.
* From the main menu, choose File > Import Photos And Video.
* Drag a folder with files or drag individual files into the Grid view.
2. Click Select A Source or From in the upper-left corner of the import window, or use the Source panel on the left side of the import window to navigate to the files you want to import.
Tip 2: You can import files from a networked drive. Connected networks appear in the Source panel. To add a network location, click From or Select A Source, choose Other Source, and navigate to the networked folder. On Windows, click the Plus button to the right of the Source panel name and choose Add Network Volume.
3. In the top center of the import window, specify how you want to add the photos to the catalog:
* Copies camera raw files to the folder you choose and converts them to the Digital Negative (DNG) format.
* Copies the photo files to the folder you choose, including any sidecar files.
* Moves the photo files to the folder you choose, including any sidecar files. Files are removed from their current location.
* Keeps the photo files in their current location.
* The Move and Add options are not available when importing from a camera card.
4. Select the photos that you want to import from the preview area in the center of the import window. A check mark in the upper-left corner of the thumbnail indicates that the photo is selected for import.
5. If you are importing photos by moving or copying them, specify where to put them: In the upper-right corner of the window, click To and choose a location for the photos. Specify further options in the Destination panel:
Tip 3: The Destination panel shows a preview of the folder(s) where you are putting the images. Use the preview to help ensure that you are importing the photos to your intended location.
6. Specify other options for the imported files using the panels on the right side of the window. See Specify import options.
7. Click Import.
(Refer to Import photos and videos into a catalog for full instruction)
 Free Trial Video Converter Ultimate


