How to connect WD TV Media Player to Home Theater System?
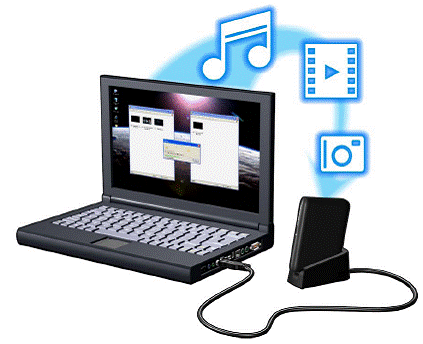
Step 1 - Loading Content onto your USB Drive
Transfer your favorite content from your computer to your external USB drive, such as My Passport or My Book.
Step 2 - Connecting the Power Cable
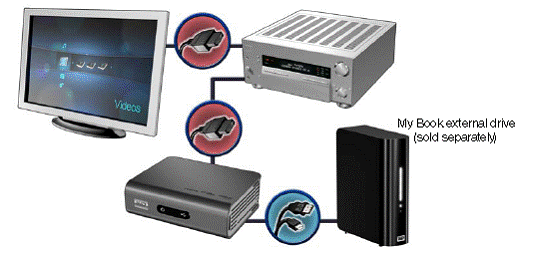
Step 3 – Connecting to Home Theater
To connect a home theater system using HDMI:
1. Plug an HDMI cable into the HDMI connector on the media player.
2. Plug the opposite end into the HDMI In port on your A/V receiver.
3. Plug an HDMI cable into the HDMI Out port on your A/V receiver.
4. Plug the opposite end into the HDMI port on your TV (if available).
5. Select the appropriate TV input source.
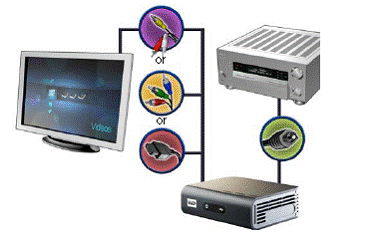
To connect a home theater system using S/PDIF (optical connector):
1. Plug an S/PDIF cable into the S/PDIF connector on the media player.
2. Plug the opposite end into the S/PDIF In port on your A/V receiver.
3. Plug HDMI, component, or composite connectors to the appropriate Out ports on the media player.
4. Plug the opposite end(s) into the appropriate port(s) on your TV.
5. Select the appropriate TV input source.
6. Set the appropriate audio output option on the media player.
Audio Output Options include:
Stereo (Analog, S/PDIF, HDMI) - This is the default setting that decodes all audio streams into 2-channel output via analog (RCA connectors), S/PDIF (optical connector), or HDMI. Recommended if you are using a 2- or 4-speaker entertainment unit.
Digital - (S/PDIF, HDMI) - Select this option if you are using a S/PDIF (optical) or HDMI connection to output 5.1 surround sound.
Digital without HDMI audio (S/PDIF) - Select this option if you are using HDMI for video and a S/PDIF (optical) connection to output 5.1 surround sound and do not want audio output from HDMI.
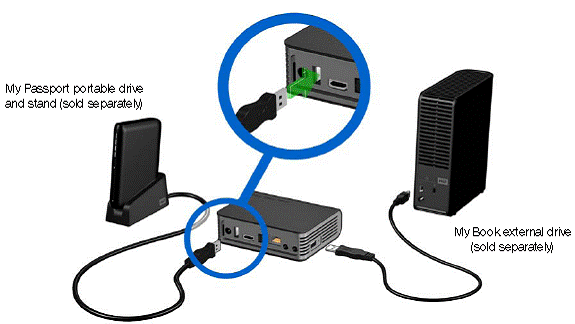
Step 4 – Connecting a USB device
Step 5 - Connecting to Your Network
The media player can be connected to your home network to access the Internet and network storage using a wired or wireless network connection. A network connection provides access to locally stored and online media content.
Step 6 - Operating the Media Player
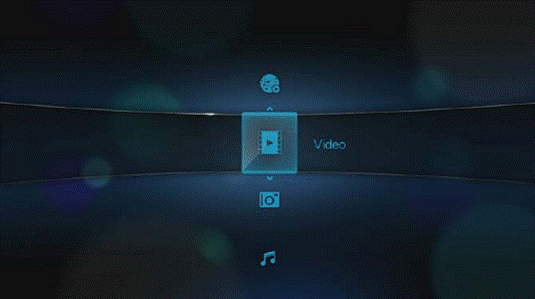
The media player remote control lets you navigate the Home screen, browse for media files, enable playback options, and customize the system settings. The infrared sensor detects infrared signals from the remote.
Important: Make sure there are no obstructions between the remote control and the infrared sensor on the media player.
[Best rating] Why choose Pavtube ByteCopy for Blu-ray to WD TV Live Plus backup:
- Lossless video quality. Pavtube ByteCopy can copy Blu-ray contents to MKV without changing anything. You get highest possible video quality, i.e. original Blu-ray video contents, just in a different container format. And WD TV Live handles Blu-ray contents well.
- Fast forward and chapter locating. Original chapter structure is preserved. You can quickly skip to any chapter you like when playing MKV.
- Proper subtitles display. Since Western Digital players do not support Blu-ray PGS subtitles in MKV file, Pavtube ByteCopy converts the subtitles to vobsub when ripping Blu-ray for WD TV media players.
- Fast speed. When ripping Blu-ray in “lossless” mode, it takes around an hour to copy a 25GB and 10 minutes to copy a DVD 5.
- Flexible audio output. Audiophiles can pass-through Dolby TrueHD, DTS-MA, and LPCM audio to MKV so as to send the audio to AV receiver for de-coding and reproducing the surround sound faithfully (studio effects). Average users can down convert 7.1 audio to Dolby Digital 5.1 or stereo.
- Pavtube ByteCopy always keeps a pace with latest Blu-ray copy-protections, and registered users can upgrade Pavtube ByteCopy for free whenever a new version is released.


