
 Home
HomeCanon updates its entry-level 'Rebel' series with a new model, the EOS Rebel T4i (650D). Put the new EOS 650D / Rebel T4i side-by-side with its predecessor, the EOS 600D / Rebel T3i, you may think it only has a very minor update, because the bodies and specs are so similar. But delve a little deeper and you will find it's more attractive than it first appears. The new T4i EOS 650D is more video-friendly, it comes with new features aimed at improving its live view and video performance. The same with other DSLR cameras in Rebel line, like Canon EOS 550D (Rebel T2i), Canon EOS 600D (Rebel T3i), and Canon EOS 1000D (Rebel XS), the EOS Rebel T4i (650D) records videos in H.264 MOV format, and the T4i offers shooting modes listed as below:
- 1920 x 1080 (Full HD): 30p (29.97) / 24p (23.976) / 25p
- 1280 x 720 (HD): 60p (59.94) / 50p
- 640 x 480 (SD): 30p (29.97) / 25p
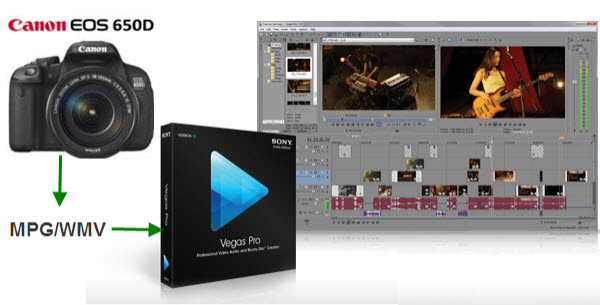
In regards of importing Canon Rebel MOV to Sony Vegas for smooth editing (H.264 MOV is not a suitable editing format for Sony Vegas), you are suggested to convert Canon T4i MOV to Sony Vegas friendly format, like WMV or MPG. The following section elaborates how to convert Canon EOS 650D MOV to MPG for Sony Vegas production with Pavtube Media Magician, which not only encode Canon EOS 650D video to WMV/MPG, but also cut out all the unwanted frames.
How to convert and import Canon EOS 650D .mov video to Sony Vegas
1. Backup Canon EOS 650D .mov footage directly from camera to PC hard drive for use.
2. Run Media Magician, choose to “Import Media Files” or “Import Media Folder” to browse and load your .mov source files from computer.

3. Drag and drop Canon EOS 650D .mov files onto Timeline.
4. Split/Cut/Reorder/Merge MOV clips (Optional)
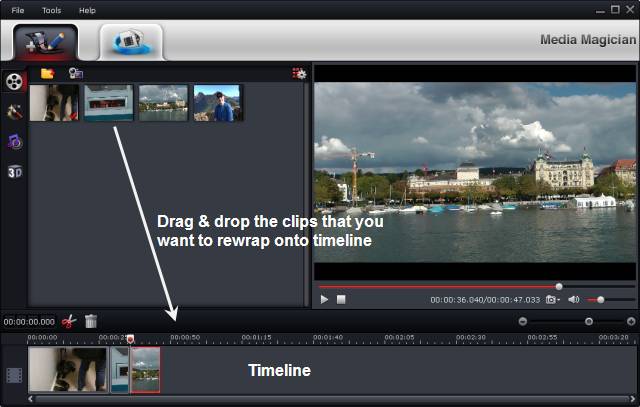
If you would like to cut off unwanted parts of your MOV clips, rearrange them in your wanted order, or merge them into one file, you can use the control buttons on timeline to do this. The control buttons on timeline help you locate frames accurately so that you can cut, trim, delete, and merge video clips in a much easier way.
5. Choose “Output” on the top of main interface to switch it to output interface.
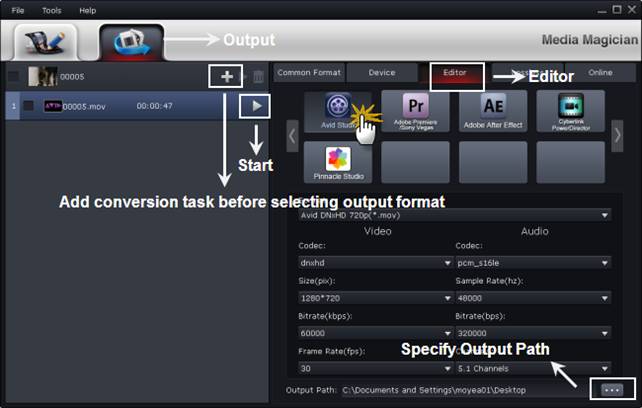
6. Choose Sony Vegas friendly codec as output format. For importing Canon EOS 650D .mov video to Sony Vegas, follow the steps to set MPG format:
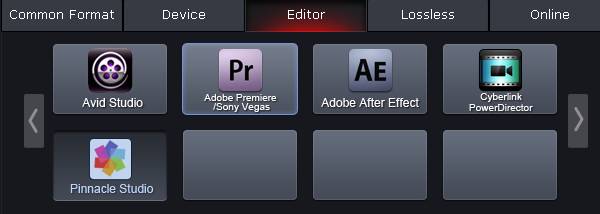
a. Move your mouse to “Editor”, click on the tab.
b. Select “Adobe Premiere/Sony Vegas” group.
c. The default output format for Sony Vegas is WMV. To use MPEG codec, just select “MPEG-2 (*.mpg)” from the drop-down list of “Format” bar. Set bitrate and frame rate if necessary.
7. Convert Canon EOS 650D .mov to WMV/MPG video for Sony Vegas.
Press the plus sign (+) to add task for conversion. Select the task(s) and click on the triangle sign to start encoding Canon EOS 650D .mov files to WMV/MPG.

8. Import WMV/MPG to Sony Vegas.
In Sony Vegas, follow Import/Export, which is located on the “File” tab of the program, to load videos for film making. From there, it will take only a few clicks for you to start importing converted Canon EOS 650D videos to Vegas.
 Free Trial Media Magician


