
 Home
HomeWhether you’re completely new to video editing, or an experienced editor, DaVinci Resolve will be the ideal video editing choice. But sometimes, one video editor can't fulfill all your needs so that you need to edit Davinci Resolve files in other NLE software such as After Effects. But can you directly export Davinci Resolve to After Effects for editing?
Through online searching, there is no an specific way to directly export Davinci Resolve file to After Effects files with rendering. Many experienced editor suggested to render/export your Resolve file as AVI, then before continue to editing in After Effects, transcode that AVI to DNxHD or other After Effect supported video format.
Part 1: Export Project from Davinci Resolve
Exporting or delivering in DaVinci Resolve is really easy. You can export the video from Davinci Resolve following the below steps.
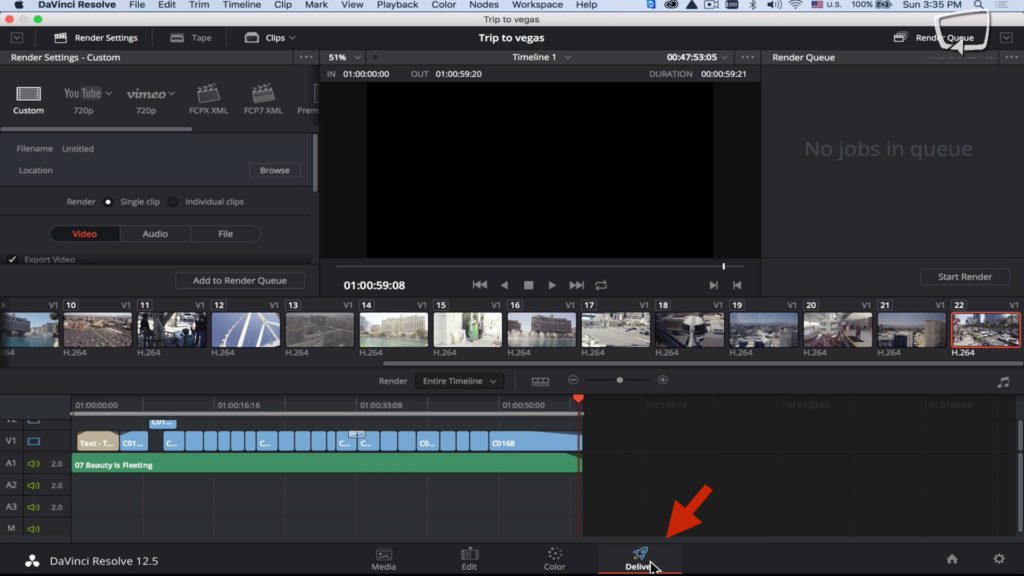
1. First thing we need to do is to select the Delivery tab at the bottom of the page
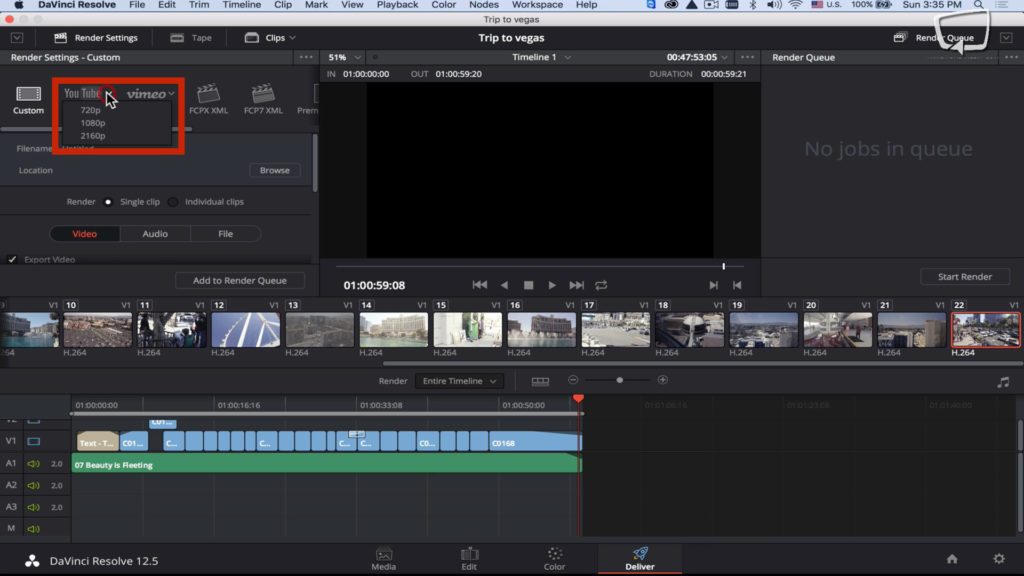
2. At the top left you will have all the exporting options, the first one is “Custom” which is more complicated. Here you can custom your wanted video format and codec.

3. On the main interface, you have two options, Export to YouTube and export to Vimeo, you can export in 720p, 1080p, and 2160p.
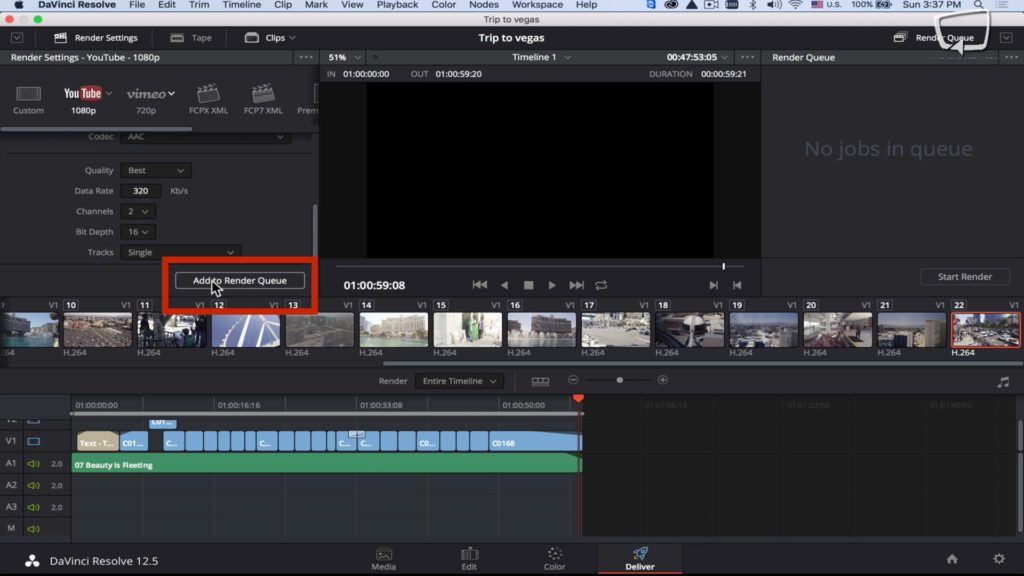
4. After you chose your exporting settings, and chose where to export the video you need to click on “Add to Render Queue”.
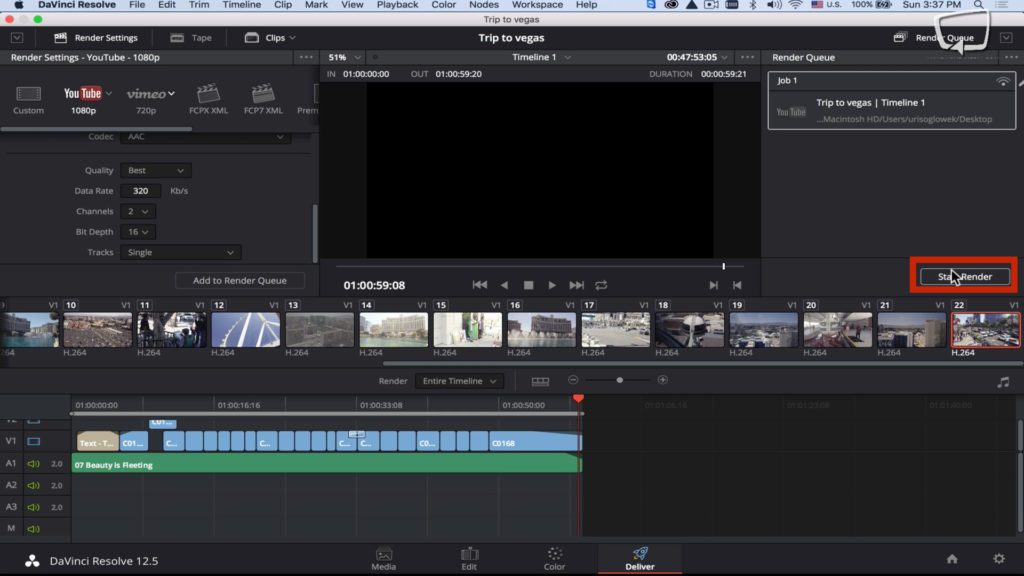
5. Click on “Start Render” and then you just have to wait until DaVinci Resolve will finish exporting your video.
Part 2: Convert Davinci Resolve Export to After Effects
After exported files from Davinci Resolve, you now should convert the Resolve export to After Effects with a video converter. Pavtube Video Converter for Mac is a useful tool designed to help you encode your any video file including Davinci Resolve files to After Effects (CC, CS6, CS5) compatible H.264 MP4, QuickTime MOV, DV AVI, MPEG-2, DNxHD, etc video format.
Furthermore, before convert your Davinci Resolve video to After Effects, you can merge all videos, remove audio from video, split videos by size, as well as modify audio and video settings when it comes to the sample frequency rate, bit rate, volume, resize mode, cropping, padding and others. Pavtube Video Converter for Mac is designed for Mac users. For Windows users, please use Pavtube Video Converter. Now download the right version below to start to convert Davinci Resolve exported files to After Effects (CC, CS6, CS5).


Steps to Transcode Davinci Resolve Export to After Effects
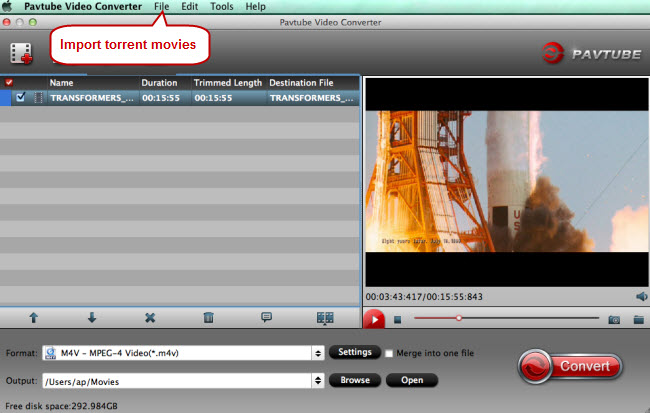
Step 1: Import Davinci Resolve clips
Download Davinci Resolve to AE Converter for Mac and load source mkv files to it. You can load multiple Davinci Resolve files at a time cause this video converter supports batch conversion. If you like, check the “Merge into one” box to join Davinci Resolve clips together.
Step 2: Choose After Effects preferred format
Navigate to “Format’ > “Common Video” > “MOV – QuickTime(*.mov)”. You also can choose MPEG2, DNxHD, DV AVI, H.264 MP4 and other After Effects supported video format. Click “Settings” button to go to “Profile Settings” screen where you can adjust audio and video parameters like size, bitrate, frame rate, sample rate, etc to make the output Davinci Resolve files more compatible with After Effects.

Step 3: Start Davinci Resolve to After Effects conversion
Click “Convert” button to start converting Davinci Resolve to QuickTime for Adobe After Effects on Mac OS X. When the Davinci Resolve to Adobe After Effects conversion task is finished, click “Open” button to get the exported files for transferring to After Effects with easy playback or editing.
How to Import Converted Davinci Resolve Files into After Effects (CC, CS6, CS5)?
There are several ways to import files:
From the main menu, select File > Import > File (keyboard shortcut Ctrl/Cmd+I). This opens the import dialogue box and allows you to select one or more files from a particular folder. To select multiple files, click while holding down the Shift key for contiguous files or the Ctrl/Cmd key for non-contiguous (separated) files.
Select File > Import > Multiple Files (keyboard shortcut Ctrl/Cmd+Alt+I) to import multiple files located in different folders. The standard dialogue box appears, but after you click Open the box remains and you can navigate to another folder to select more files. Keep doing this until all files are selected, then clickDone.
 Free Trial Video Converter for Mac

Useful Tips
- MOV to M4V: How to Convert MOV to M4V on Mac OS (macOS High Sierra Included)
- How to Play AVI Videos on MacBook(Air, Pro, iMac)?
- How to Import Android Videos to iMovie for Editing?
- How to Play a WMV File on Mac Computer
- Play H.265 Files with QuickTime Player on Mac
- Convert YouTube to MPG/MPEG with Easiest Way


