-
How to convert videos with Pavtube Video Converter for Mac?
Pavtube Video Converter for Mac is an all-in-one video converter for Mac OS X. It can convert almost all video formats from one to another including FLV, AVI, MP4, MT2S, MOD, TOD, SWF, etc. And here is a guide to tell you how to use this powerful conversion tool to successfully convert videos from one to another on Mac OS X step by step.
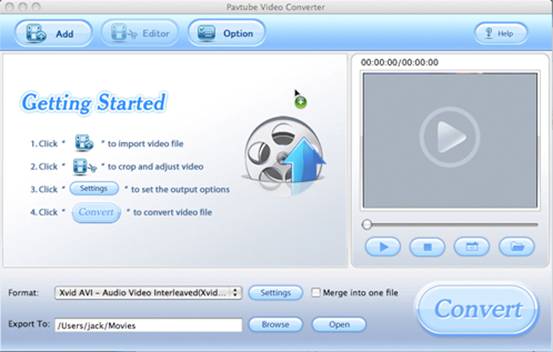
1: Download and install Pavtube Video Converter for Mac. The main interface will pop up.
2: Import video files into this program.
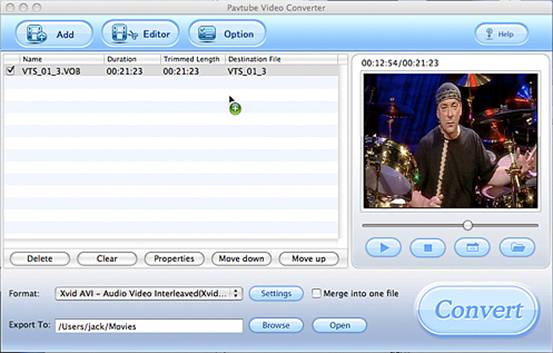
Click button “Add” to load the video files you want to convert from your PC. Then, you will see such an interface as below:
3: Set the output format and location
Choose the output format from the drop-down list of profile “Format”. Hit the button “Browse” to select the saving place from your PC.

4: Convert
After all the necessary settings are ready, you just click button “Convert” to start the conversion. You will see such a “Ripping” window as below.
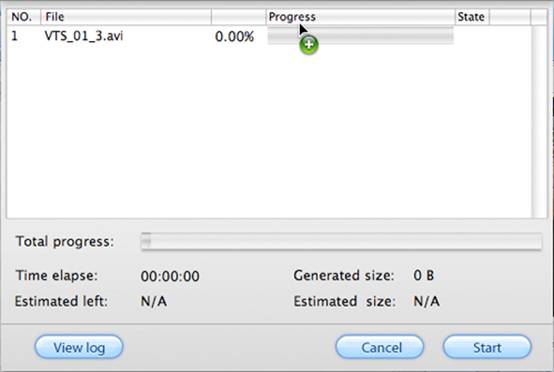
For a few seconds, the conversion process will be finished. Then, you can click the “Open” button to get your converted video file. I believe you will easily handle this conversion tool in a very short time.
Other functions you may need:
1: Preview and take snapshot
Pavtube Video Converter for Mac provides you the preview and taking images function. Please look the preview window as below.

The four buttons from left to right are: Play/Pause button, Stop button, Snapshot button, and Snapshot open
button.
To preview the whole movie, just click the Play button. If you want to take some images from the movie for future use, just click button Snapshot to take a snapshot. Hit the Snapshot open button to get the images from the folder you set from your PC.
2: Powerful editing function:
This amazing software allows you to trim, crop the video, as well as add watermark, replace the audio track in the editing panel by clicking the button “Editor” on the top of the main interface.
Tip1: Trim the video
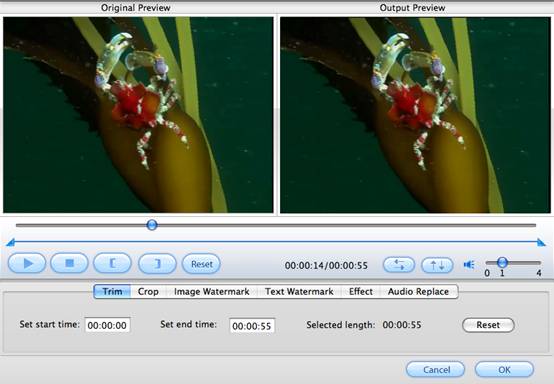
When you enter into the “Trim” panel, you can see such an interface as below.
There are three ways available:
1, Drag the slider bars
Drag  below the preview window to mark the beginning of your clip and
Drag  to mark the end of your clip during the preview.
2, Control mark buttons
Press the button  to mark the start of your clip and
  to mark the end of your clip during the preview.
3, Enter the values
Input the certain time number in Set start time and Set end time fields.
Tip 2: Crop the video
Click button “Crop” option to open the Crop video window.
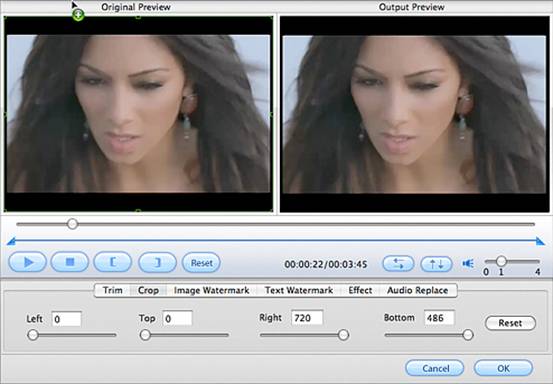
You can adjust the size of the video picture by enter the values into the four boxes Left, Top, Right and Bottom or drag the four slider bars. Alternatively, you can drag the dashed frame in Original Preview window.
Tip3: Image and video watermark editing
Click button “Image watermark” to come into the image watermark editing window.

Check option “Enable” to start up the watermark adding function. Hit the button “Browse” to select the image or video to be the mark from your PC. You can also resize the height and width of the picture and video marks.
Tip 4: Text watermark editing
Click button “Text Watermark” to enter into the Text Watermark panel.
Check option “Enable” to start the text watermark adding function. Then you can type the text you want to use as watermark in text watermark area.
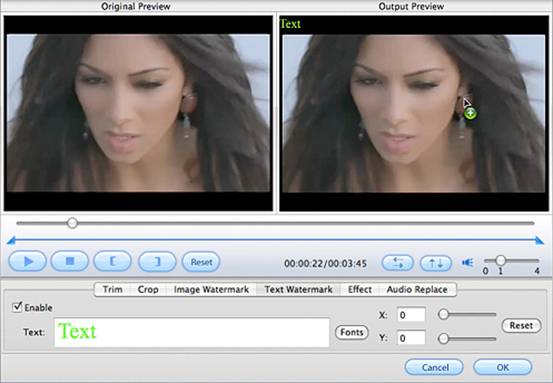
Check button “Fonts” to edit the front of the text. You are allowed to edit the font style, size, and color of the text in the “Fonts” panel after choosing the whole text by clicking the composite key “Command+A”.
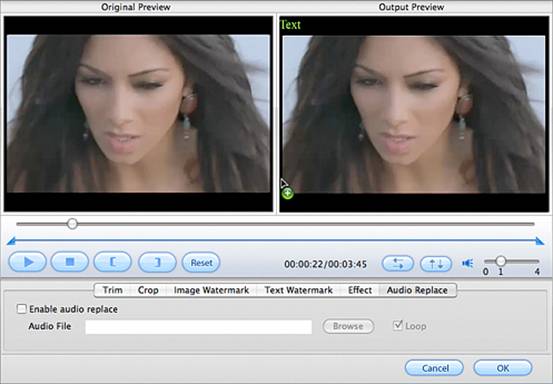
Tip 5: Audio Replace
Click “Audio Replace” button, and check “Enable audio replace” option, then hit the browse button to select the audio file you wan to add.
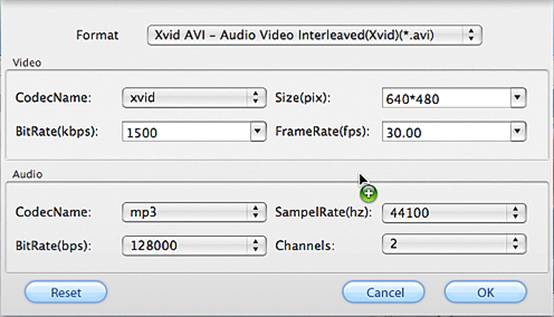
3: Set advanced settings
Click the button “Settings” to set the video Codec Name, Bit Rate, Video Size, and Frame Rate and audio Codec Name, Bit Rate, Channels and Sample Rate to optimize the quality of the video.
4: Option setting
Click button “Option” on the top of the main interface, you can see such an interface.
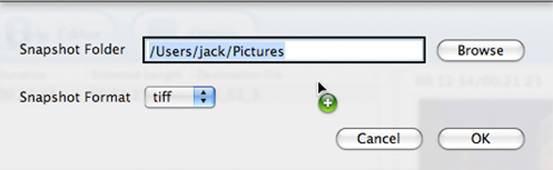
In this panel, you can set the snapshot saving place and the formats.
Free Trial
Video Converter for Mac(9.0 MB)Buy Now
Video Converter for Mac(Only $35)
Products List
- DVD Ripper Mac
- Blu-Ray Ripper
- DVD to iPod Converter Mac
- DVD to iPhone Converter Mac
- DVD to Apple TV Converter Mac
- DVD to Blackberry Converter Mac
- DVD to MP4 Converter Mac
- DVD to 3GP Converter Mac
- DVD to PSP Converter Mac
- DVD to Gphone Converter Mac
- DVD to Mobile Phone Converter Mac
- DVD to AVI Converter Mac
- DVD Audio Ripper Mac