-
How to add special effects to your HD videos on Mac?
People’s demands for video quality continuously follow up with the development of multimedia technology. Hence, HD video is born. Nowadays, we can get HD videos from various ways, like downloading online, recording by HD camcorders, coming from HD or Blu-ray DVDs, etc. Additionally, more and more people are willing to make efforts to edit their on-hand HD videos, therefore, this guide, with the intention of offering help to these people ,will introduce you how to add special effects to your HD videos on Mac via Pavtube HD Video Converter for Mac step by step.
1. Download, install and run Pavtube HD Vidoe Converter for Mac.
2. Add your HD video files to this program, then click icon “Editor”.
3. Press tag “Effect” to adjust common effect parameters as well as add special effects.
3.1 Adjust common effect parameters and Deinterlacing
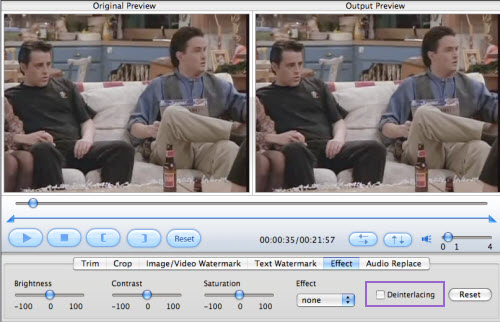
As soon as you click the “Effect” button, the following interface will show up, you can adjust the common effect parameters like Brightness, Contrast, and Saturation by dragging the slider bars. If there are stripes on your original HD videos, you can hit the checkbox “Deinterlacing” to fix it.
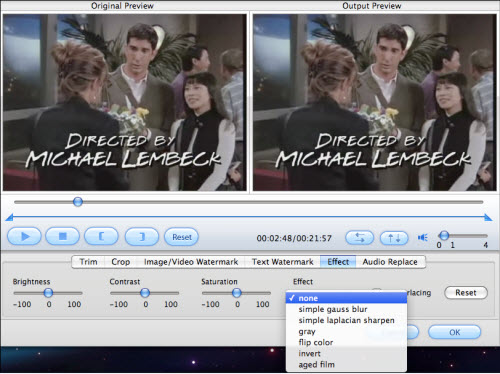
Apart from changing the common parameters of effect, now I will show you how to add special effects to your files. Follow me, please. Just click the drop-down list of “Effect”, which is between Saturation and Deinterlacing. Afterwards, you will see there are seven options as below interface showing:
Select whatever special effect you need, and if you want to change your former settings, just click “Reset”. As long as you have chosen a satisfactory effect, click “OK”, the settings will be saved, otherwise press “Cancel” to abandon it. Well, next, I will reveal you all the special effects one by one; meanwhile, you can consider which one is that you need right now.
3.2 Simple gauss blur
This function can remove the video noises, so that your video quality will be improved a lot. So long as you have this problem, you can use it. If not, you may just skip it.

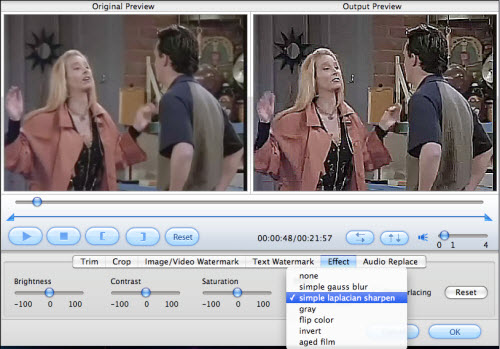
3.3 Simple laplacian sharpen
This function enables the video files to have sharpened edges; in that case, the resulted videos will be much more different from the normal ones.
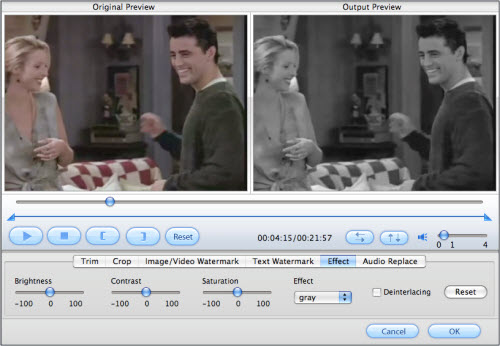
3.4 Gray
Look at the following picture, the difference between original preview and output preview has obviously presented the effect of “gray”. From the literal meaning of it, we can also know that it shadows the bright color of the original files, and achieves a deep gray effect.
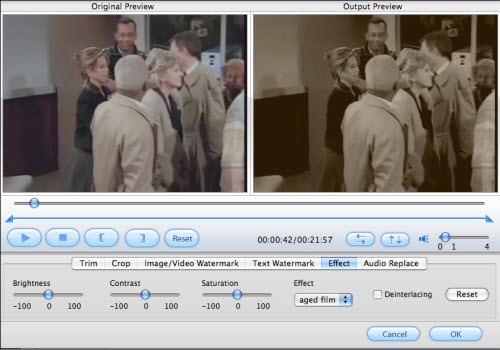
3.5 Aged film
I put this function here, because it is a little same with the above mentioned “gray”, can’t you see it? The visual difference lies in that “aged film” is fulfilled with the color of old yellow, while the above one is filled with gray. You can use this effect to make your videos look like old films produced many years ago.
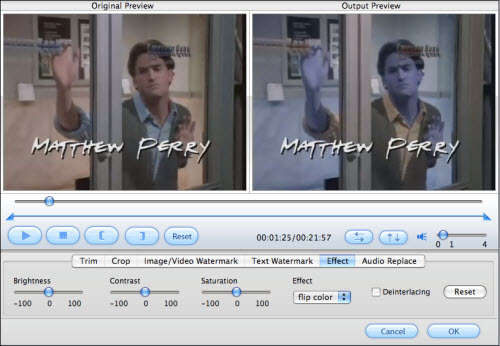
3.6 Flip color
Primary color red and blue are reversed by this function, and the generated video image seems much bluer than before.
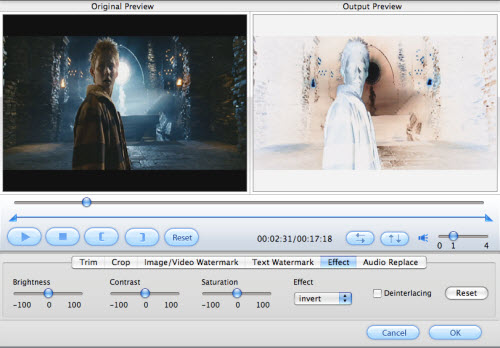
3.7 Invert
Like “flip color”, “invert” also realizes its special effect by reversing conflicting colors, such as black and white. This effect really brings us great visual impact. Don’t you think it looks like the scenes appeared in some horror movies? Ha-ha!
4. Convert
When you have finished adding special effects to your HD videos, you can click “Convert” to continue your conversion job. A video file with built-in special effects is really wonderful. Don’t you think so?Free Trial
HD Converter for MacBuy Now
HD Converter for Mac
- 1G Hz or above PowerPC G4/G5 or Intel processor.
- Mac OS X (including Mac OS X 10.4 Tiger ,v10.5 Leopard and v10.6 Snow Leopard ) on iMac, MacBook, Mac Pro, etc.
- 512 MB physical RAM (memory) or more.
- 1024*768 or higher resolution display.

DVD Ripper Quick Learn
Products List
- DVD Ripper Mac
- Blu-Ray Ripper
- DVD to iPod Converter Mac
- DVD to iPhone Converter Mac
- DVD to Apple TV Converter Mac
- DVD to Blackberry Converter Mac
- DVD to MP4 Converter Mac
- DVD to 3GP Converter Mac
- DVD to PSP Converter Mac
- DVD to Gphone Converter Mac
- DVD to Mobile Phone Converter Mac
- DVD to AVI Converter Mac
- DVD Audio Ripper Mac


Why choose Pavtube?
- Fully functional
- Free technical support
- Five-Star awards
- Free updates
- Excellent service