-
How to rip DVD on Mac?
This tutorial will show you how to rip DVD on Mac OS X (tiger and leopard) with the great tool- Pavtube DVD Ripper for Mac.
1) Get started.
Download DVD Ripper for Mac and run it. You will see a blue interface like below. Just first have a general idea of its intuitive interface
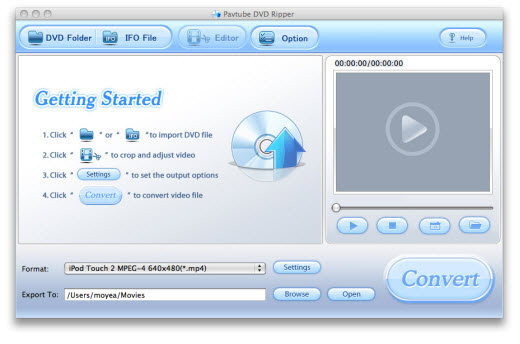
DVD Folder: Add DVD video though locating DVD folder which contains all the data.
IFO File: Directly add the IFO files to the list of the program.
Editor: Trim and crop DVD to meet your special customization need.
Option: Set the snapshot images’ saved place and their file formats.
Help: Click to read the PDF help document file.
Settings: Do the advanced setting for the checked DVD title or chapter.
Browse: Browse your computer to choose the export file’s saving place.
Open: Open the output file folder.
2) Import DVD.
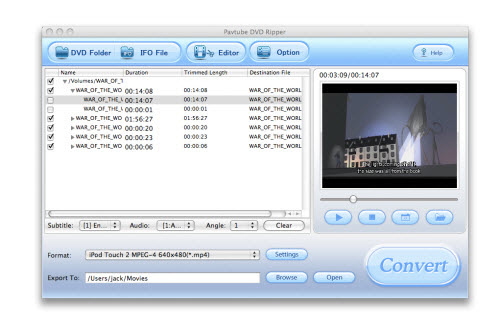
Click the button DVD Folder to import the DVD. Choose one chapter and click Play button on the preview windows. An interface like below will come into your eyes.
3) Customize Settings
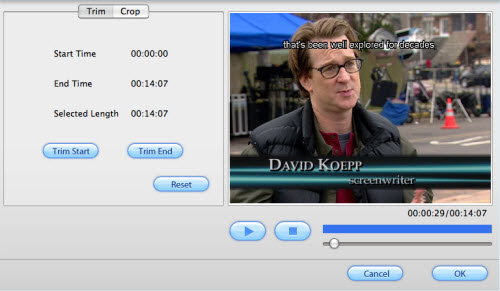
If you have a need to customize the DVD movie before the conversion, you can click Editor to achieve your goal. Two sections are available under that button: Trim and Crop.
Trim section allows you to select the starting time and the ending time to choose your favorite duration.
Crop function enables you to cut off the unwanted parts of the video and set the aspect ratio to get exactly what you want.
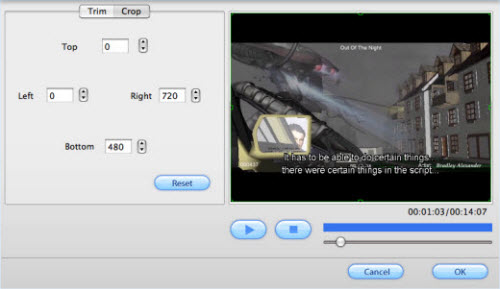
After you choose the proper cropped file, click button OK to save your customization.
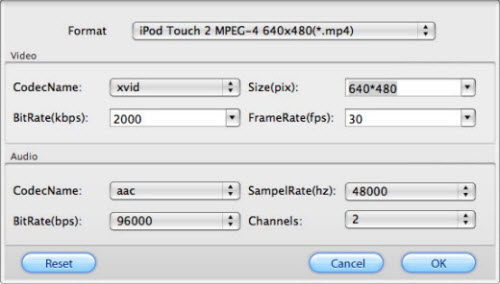
3) Set Output Settings
In the Format and Export To boxes, you can choose which format to output and the right position to save the converted file. You can click the button Browse behind Export To box to specify an output folder on your Mac OS X. Clicking on Settings button experienced users can set video Codec Name, Bit Rate, Video Size, and Frame Rate to optimize the quality of the video, as well as setting audio Codec Name, Bit Rate, Sample Rate, and Channels to make the quality of audio better.
Below is the Settings window.
4) Convert Movie
After every thing necessary was selected, you can click the button Convert to start the conversion. Soon you will see the window below:
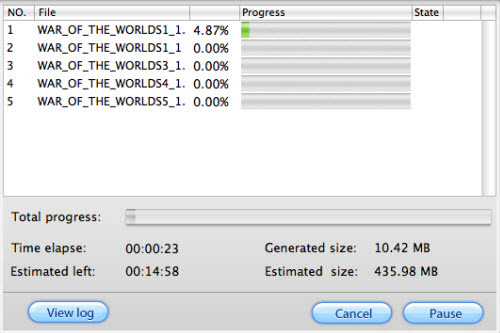
Few minutes later, you will get the ripped DVD files with high quality on your Mac OS.
Hope you have a great fun.Free Trial
DVD Ripper for MacBuy Now
DVD Ripper for Mac
Pavtube Catalogue