-
Three Steps to Customize DVD on Mac
If you want to customize DVD on Mac and want to find the best way, today, you will feel lucky. Since Pavtube DVD Ripper for Mac is such an easy to use tool to allow you customize your DVD on Mac by trim, crop, do advanced settings before conversion.
Ok, just let me show you the three steps to customize DVD on Mac.
Step1, Run and import the DVD you want to do customization.

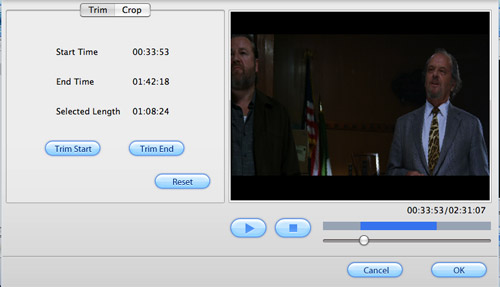
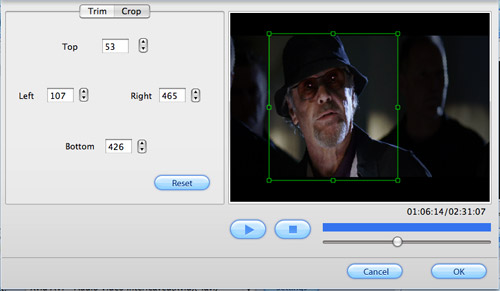
Step2: Click Editor, a pop up window will allow you to trim and crop the DVD clip. Trim will let you get the favorite DVD length and crop provide you the way to cut off the black edges of the DVD movie.
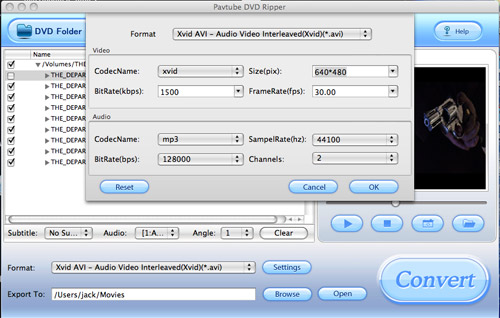
Step 3: If you want to adjust the bit rate, sample rate and frame rate etc. Click button Settings to do the advanced setting to get the better effect.
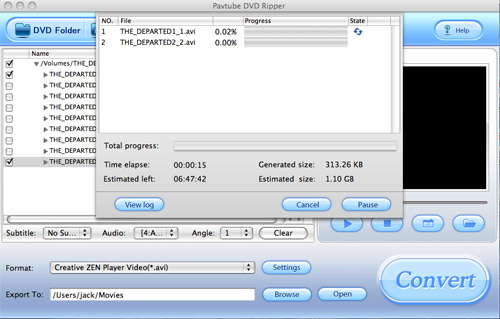
Now, the customization is done. To start the conversion, just click the Convert, soon you will get the customized file for enjoyment.
Free Trial
DVD Ripper for Mac(9.0 MB)Buy Now
DVD Ripper for Mac(Only $35)
Pavtube Catalogue