-
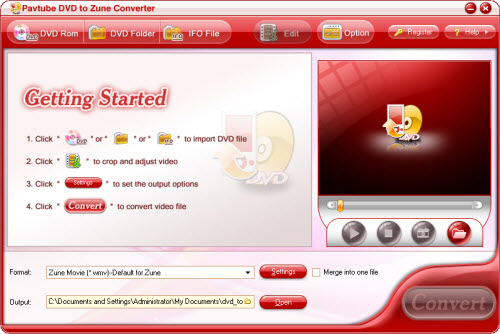
Guide: How to Convert DVD to Zune
How to convert DVD to Zune? You get to know what you want from a DVD to Zune video Converter. Super fast conversion speed, high quality output video, batch conversion, all these factors are what we expect from a DVD to Zune converter. And supporting splitting and merging would be a plus. If you Google DVD to Zune converter, you will be present with hundreds of result about converting DVD to Zune video, but which one to choose, I have write an article on how to choose the best DVD Ripper according to your need, you can visit for reference. Today I share this guide and demonstrate how to convert DVD videos to your Zune with Pavtube DVD to Zune Converter.
1.Download and install Pavtube DVD.
2. Launch the program and Click the button of DVD Rom, DVD Folder or IFO file, and a dialog box pops up for you to select the original DVD movies. Here, you have added the DVD movies to the product. After adding the DVD movies, you can click “+” to open sub-directory: the titles and click “+” again: the chapters. Here, you can select the chapters you like to rip.
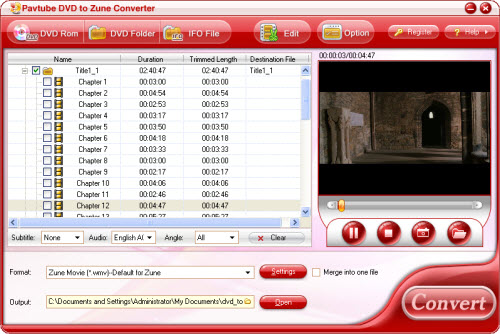
3. Select one format for playback on Zune by clicking the triangle button. From the drop-down bar, you can get what you want. Then specify where to save the ripped movies by selecting from Output box. The advanced settings are provided for the experienced users. You can click Settings button to set the parameters like bit rate, frame rate, video size, and so on.
4. Edit the videos by clicking Edit buttons:
4.1 Effect: Click Effect tab, you can come to the following interface.
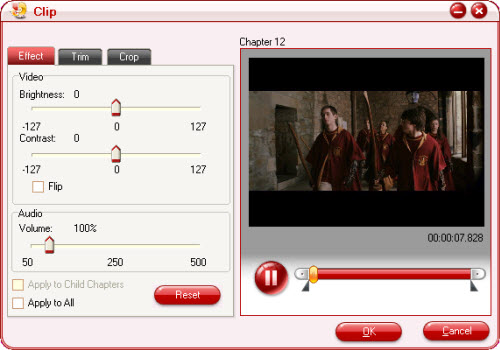
In this menu, drag the small button to adjust the brightness, contrast, flip, or the volume. Also it offers the option to select Apply to child chapter.
4.2 Trim: Click Trim tab, you can come to the following interface.
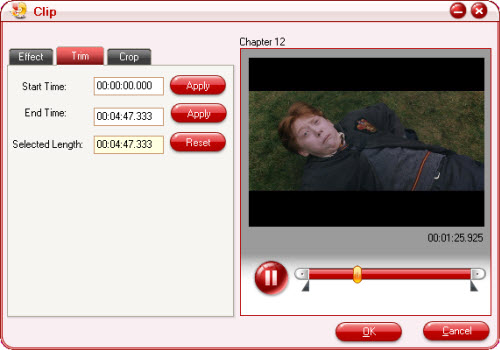
Here it is optional to decide on the start time and end time. With the function, you can get the video you wish.
4.3 Crop: Click Crop tab, you can come to the following interface.
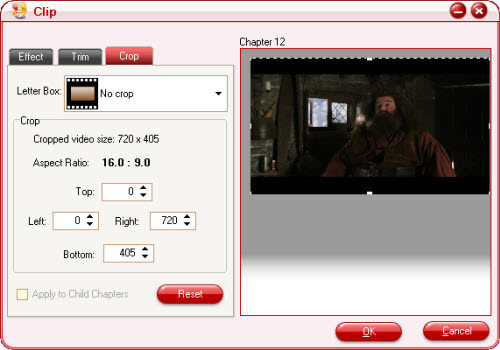
If you want to cut off the black edges, please click the triangle button and choose the way to cut from the drop-down bar. In addition, you can select the image origin as required manually by dragging the frame-mark or adjust the number about length and width of the image.
5. Click the run button to start ripping the movie. You don't need to wait before the conversion ends, you can tick the box"shut down after conversion" and leave it alone.
Free Trial
DVD to Zune Converter(5.67MB)Buy Now
DVD to Zune Converter($29)
- Operating System: Windows 2000/XP/2003/Vista/Windows 7
- DirectX Version: 9.0 or above
- Memory: 64MB at least
- Processor: Intel Pentium Ⅲ processor at 500 MHz
- Hard Disc Space: 512MB or above
- Optical Drive: DVD-ROM

DVD Ripper Quick Learn
Pavtube Catalogue


Why choose Pavtube?
- Fully functional
- Free technical support
- Five-Star awards
- Free updates
- Excellent service